This page explains how to install SessionQuota Pro, activate it correctly, and avoid common setup conflicts.
Requirements #
- WordPress 5.9 or later
- PHP 7.4 or later
Install from a ZIP file #
- In WordPress admin, go to
Plugins -> Add New -> Upload Plugin. - Select the SessionQuota Pro ZIP file.
- Click
Install Now. - Click
Activate Plugin.
Manual installation #
- Upload the
sessionquota-profolder to/wp-content/plugins/. - Go to
Pluginsin WordPress admin. - Activate
SessionQuota Pro.
Important: do not run the free and pro editions together #
Only one SessionQuota edition should be active at a time.
If the free edition is already active, deactivate it before using SessionQuota Pro. Running both editions together can create conflicts.
Where to configure the plugin #
After activation, go to:
- Single site:
Settings -> SessionQuota Pro - Multisite: Network Admin ->
Settings -> SessionQuota Pro
License activation #
SessionQuota Pro includes a License tab in the settings screen.
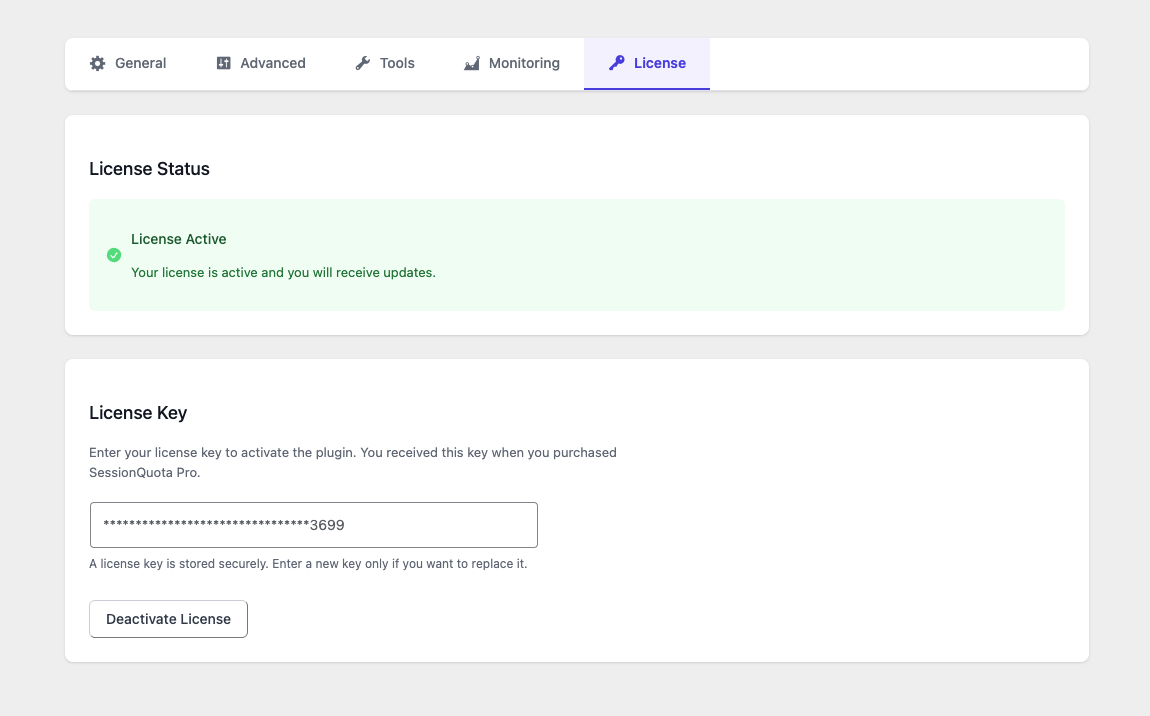
Use it to:
- Enter your license key
- Activate the license
- Review activation status
First post-install checks #
After activation, confirm the following:
- The plugin settings page opens without errors
- Your global session limit is set correctly
- Your preferred enforcement mode is selected
- Frontend integration is enabled if you want users to manage sessions from account pages
Multisite note #
On multisite, SessionQuota Pro is designed for network-managed use and should be network-activated. See Multisite Guide for details.